Utilizing the Folder Tree
Overview
The item type "Package" can be used as a folder by default.
Folders are displayed on the "Folder Tree" (Figure ① below) on the left side of the project management screen.
The folder tree displays a simple WBS showing only folders.
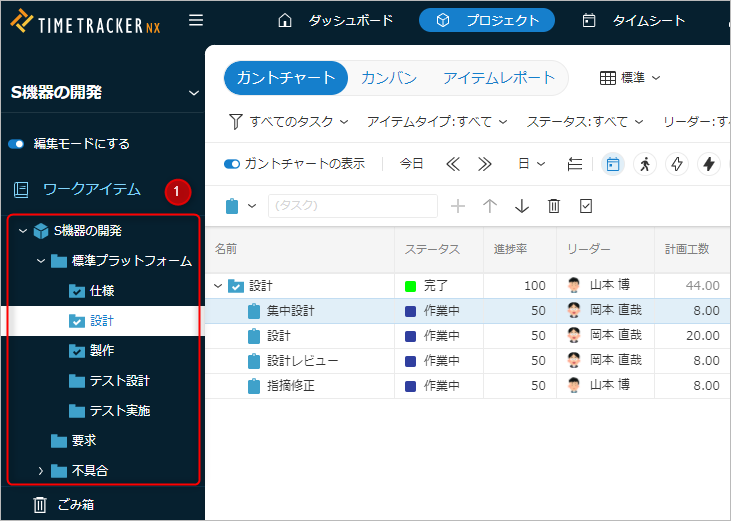
When you select a folder in the folder tree, the WBS under the selected folder is displayed on the Gantt chart.
- Because only a specific part of the project is displayed, even large-scale projects can be managed in a simple manner on the screen.
- You can efficiently edit and view projects by switching selected folders as needed.
This chapter introduces how to utilize the folder tree.
Filtering Display Targets in the Folder Tree
By selecting the target folder in the Folder Tree ①, you can filter the displayed WBS.
Managing Folders
You can specify the target folder in the Folder Tree and edit, add, or delete folders.
-
Adding a Folder
Right-click the folder and select "Add Subitem" - "Package".
A new folder will be created under the selected folder. -
Deleting a Folder
Right-click the folder and select "Delete".
- Modifying a Folder Right-click the folder and select the appropriate operation below.
| No. | Item | Description |
|---|---|---|
| 1 | Rename | Renames the folder. |
| 2 | Change Color | Changes the color displayed to the left of the folder in the WBS. |
| 3 | Mark as Complete | Sets the progress rate to 100%, including all sub-work items. |
| 4 | Revert to Incomplete | Sets the progress rate to 0%, including all sub-work items. |