Managing Item Types
Overview
Item types define the types of work items that make up a project.
By default, there are two types: 'Task' and 'Package', but you can add any type you like.
Example: 'Request' and 'Defect' item types can be used for request management and defect management.
The following settings can be customized for each item type:
- Process classification and work classification options
- Fields to use
- Item property screen layout
- Status options
Example: For 'Request' and 'Defect', you can define property images for each item type as follows:


Please refer to the following video for an overview.
Flow of Item Type Usage
Item types are managed as part of the profile.
Therefore, in order to define and use item types, you need to configure them in the following way.
| Step | Content | Link |
|---|---|---|
| 1 | Register item types in the system. | (This page) |
| 2 | Define the item types to be used in the profile. | Manage Profiles |
| 3 | Create a project using the profile. | Define a Project |
| 4 | Update the profile applied to the project. | Change Profile Settings |
The following video demonstrates the steps involved in defining item types.
Common Procedure
To manage item types, perform the following steps as a common prerequisite:
-
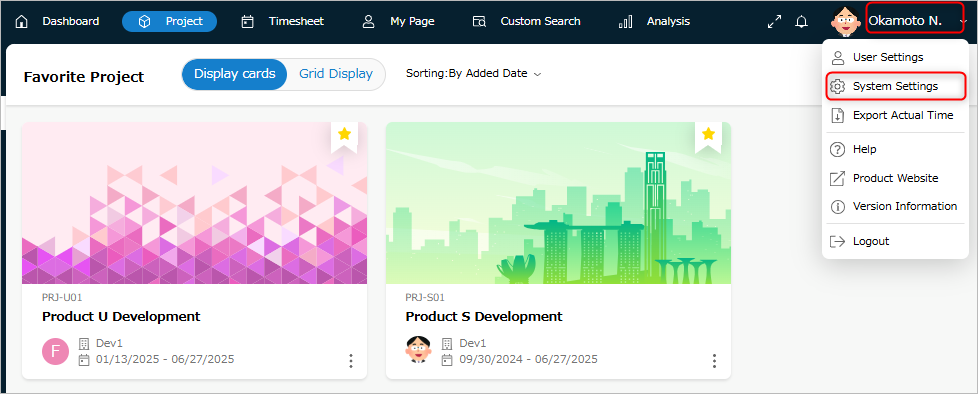
Click your login name in the TimeTracker RX global navigation.
-
Select "System Settings".
-
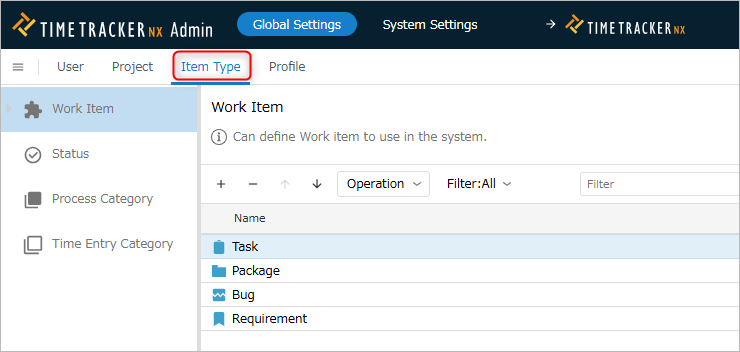
Click "Item Type" in the Local Navigation menu.
-
Select "Work Items" from the left menu.
Adding Item Types
You can add item types for other purposes such as request management and bug management.
Note that the following item types are available as default items.
| No. | Item Type | Description |
|---|---|---|
| 1 | Task | The smallest granularity of work for managing achievements and progress |
| 2 | Package | Groups items such as tasks together and manages them as a single group |
How to Use
-
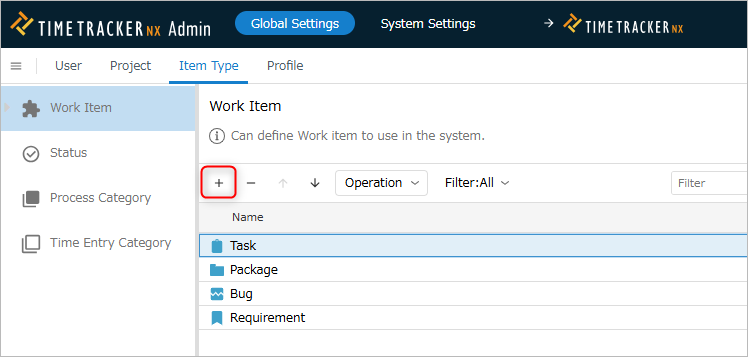
Click the "+" icon at the top of the work item list.
-
Enter the item type information in the "Create Item Type" dialog.
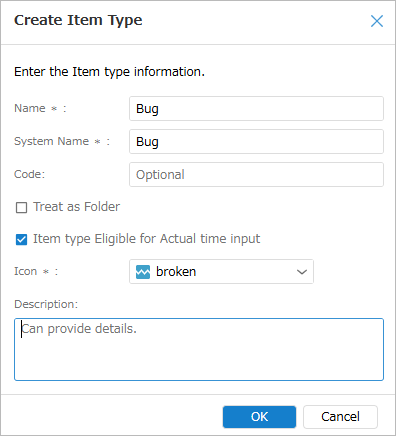
The input fields are as follows:
No. Item Description 1 Name Name of the item type 2 System Name Name on the system 3 Code Code that identifies the item type 4 Treat as a folder Check this box to treat it as a folder.
If checked, it will be displayed in the folder tree on the project management screen, and
you can narrow the display range.5 Item type that allows performance input Check this box to allow performance input. 6 Icon Icon displayed on the screen 7 Description Description of the item type -
Click the "OK" button.
Delete and restore item types
Delete
You can delete unnecessary item types using the following steps.
-
Select the item type to delete.
-
Click the "-" icon at the top of the item type list.
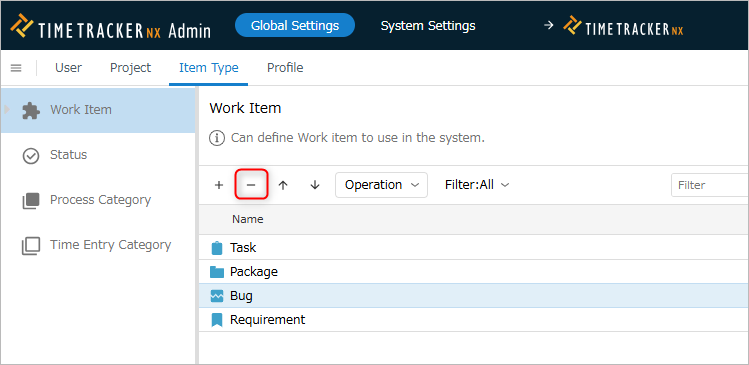
You cannot register new items to a profile.
However, profiles that are already registered can continue to use the deleted item types as before.
Restoring
You can restore deleted item types using the following steps.
Use this if you accidentally deleted an item type or want to reuse a deleted item type.
- Select "Deleted" in the "Filter".
- Select the item types you want to restore. Multiple selections are possible.
- Click "Actions" at the top of the profile list.
- Select "Restore".
Changing Item Types
You can change the settings of an item type once it has been created using the following method.
-
Select the target work item.
-
Click the "Properties" icon in the local navigation.
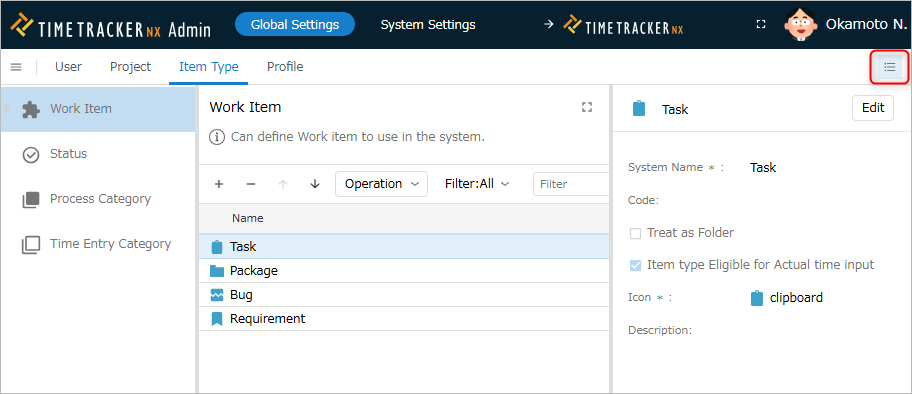
-
Click the "Edit" button.
-
Change the item type information.
-
Click the "Save" button.
Registering Item Types to the Profile
The defined item types can be used by registering them to the profile and applying them to the project.
For details, please refer to the following link: "Define Item Types"