System Administrator Settings
Overview
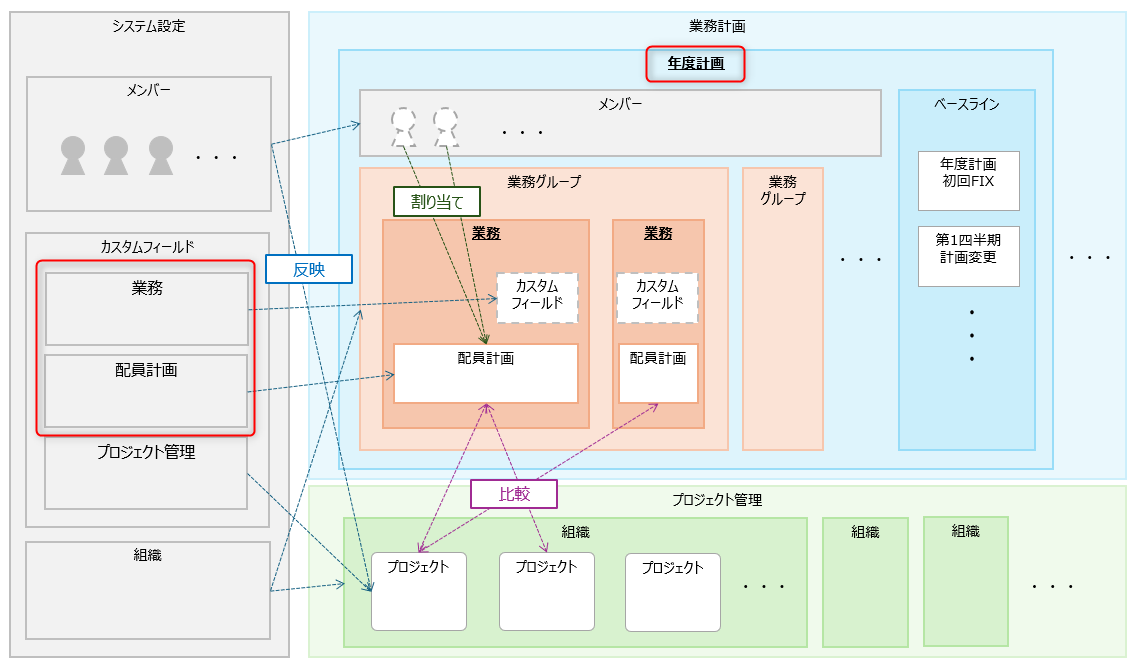
To use the business plan, first define the annual plan and custom fields.
From the login username displayed in the upper right corner of the screen, click "System Settings" to open the editing screen.
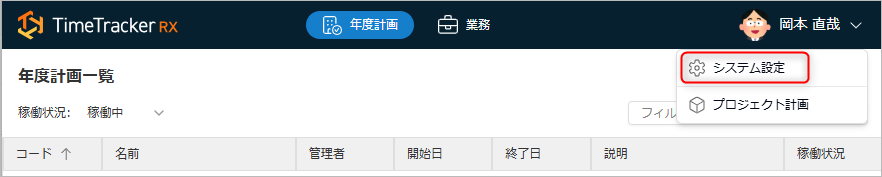
Please perform this operation using a user with the "System Administrator" privilege enabled in the TimeTracker RX system role.
Defining the Annual Plan
An annual plan generally refers to a specific action plan for business operations over one year.
Created based on the medium-term plan, it defines the specific activities, budget, and responsible persons necessary to achieve the goals for that year.
In TimeTracker RX, it serves as a framework for managing operations.
Please create it in units that are easy for users to manage, such as year/organization.
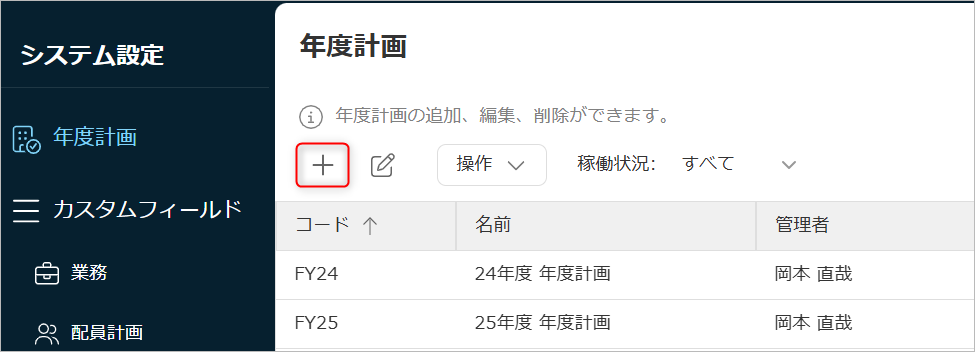
Adding an Annual Plan
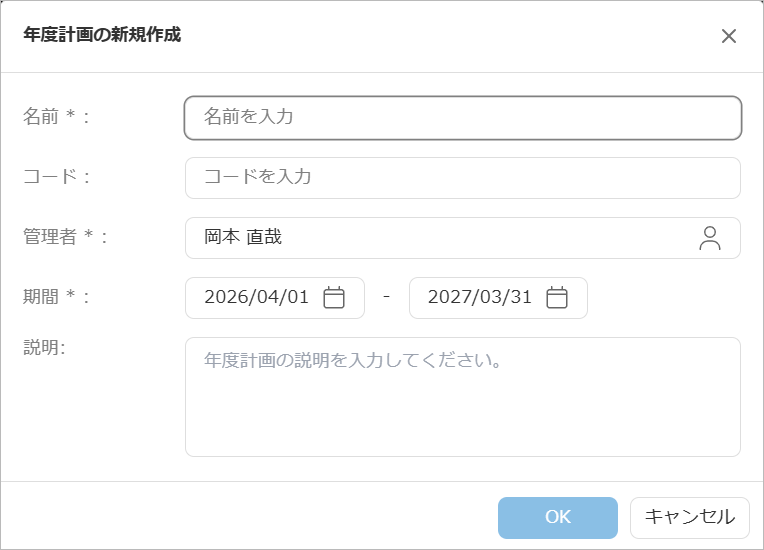
Click the "+" icon on the screen and enter the required information.
-
In the "Create New Annual Plan" dialog, items marked with "*" are required input fields.
-
Items set to "Administrator" have the authority to set "Baseline".
Please assign the appropriate person, such as for managing the entire annual plan.
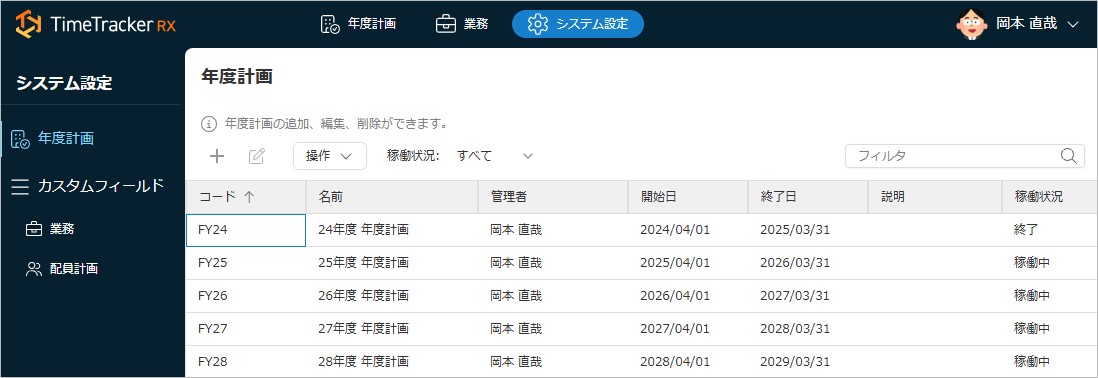
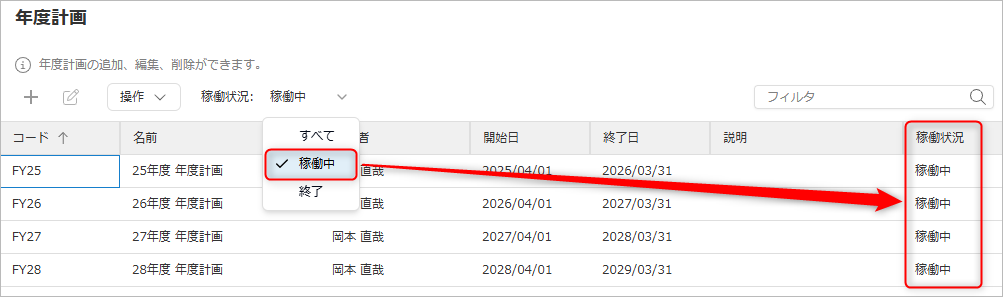
Filtering Display Content
You can filter the display of created annual plans using the following methods:
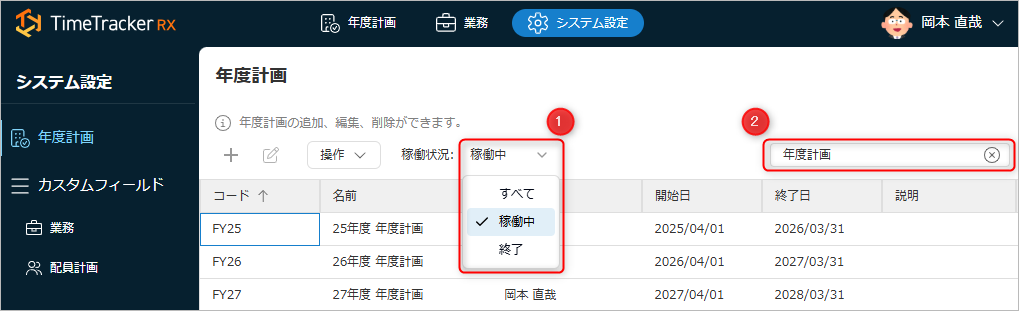
- ①: Annual plan operational status
- ②: String contained in "Code" or "Name"
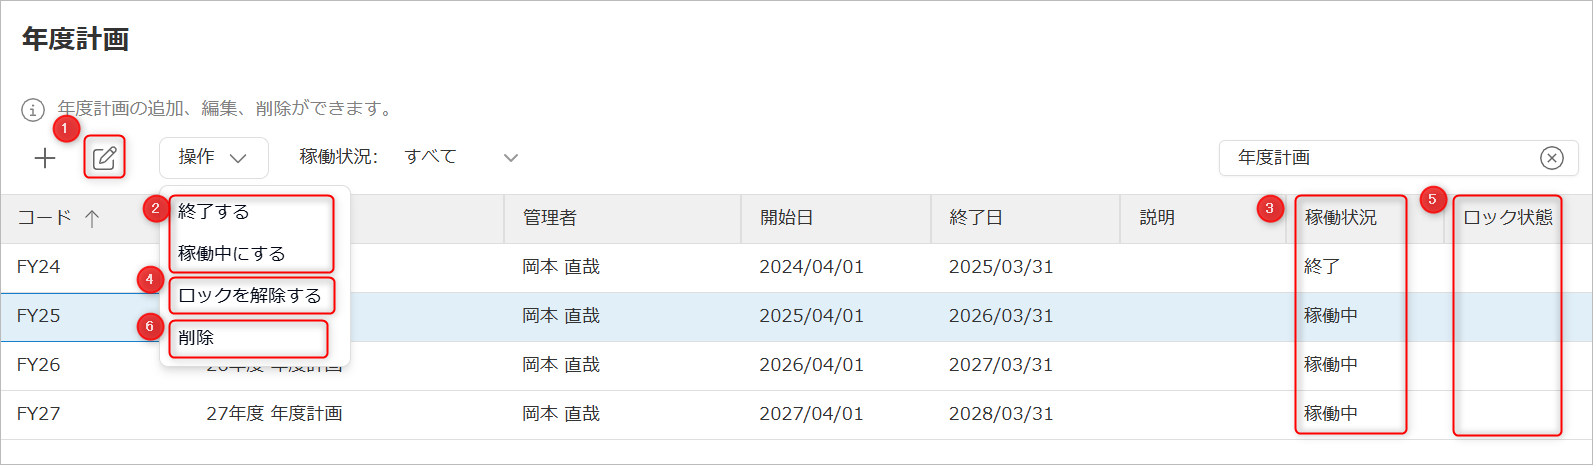
Editing and Deleting Annual Plans
You can perform the following operations on created annual plans:
-
①: Editing the Annual Plan
- Select the target annual plan and click the "Edit Annual Plan" icon, or double-click the target annual plan.
- An editing dialog will appear.
-
②, ③: Changing the Status of the Annual Plan
-
The status is displayed in ③.
-
Annual plans in the "Completed" status will be hidden when filtered by "Active" in the annual plan list.
-
-
④, ⑤: Unlocking
- Annual plans locked in ⑤ cannot be edited.
- They will be locked while creating "Baseline".
If the lock is not released after more than one hour, unlock it from ④.
Please create the baseline again after some time.
-
⑥: Deleting the Annual Plan
- Select "Actions" → "Delete".
Deleted annual plans cannot be recovered.
Defining Custom Fields
When planning tasks, the fields provided by default in TimeTracker RX may not provide sufficient information.
By defining fields with arbitrary data types as "custom fields,"
you can select and use only what is necessary for individual projects.
There are two types of custom fields: "Tasks" and "Staffing Plans."
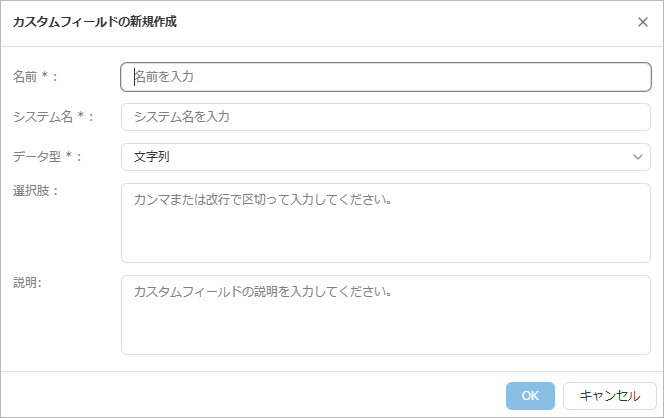
Creating Custom Fields
Select the custom field you want to create and click "+".

Enter the necessary information in the displayed dialog.
-
Items marked with "*" are required fields.
-
Items entered in "Options" will be displayed as a drop-down list when used.
Editing Custom Fields
-
Changing Field Definitions
- Display the dedicated dialog using one of the following methods and edit it.
- Select the target custom field and click the "Edit Custom Field" icon.
- Double-click the target custom field.
- Display the dedicated dialog using one of the following methods and edit it.
-
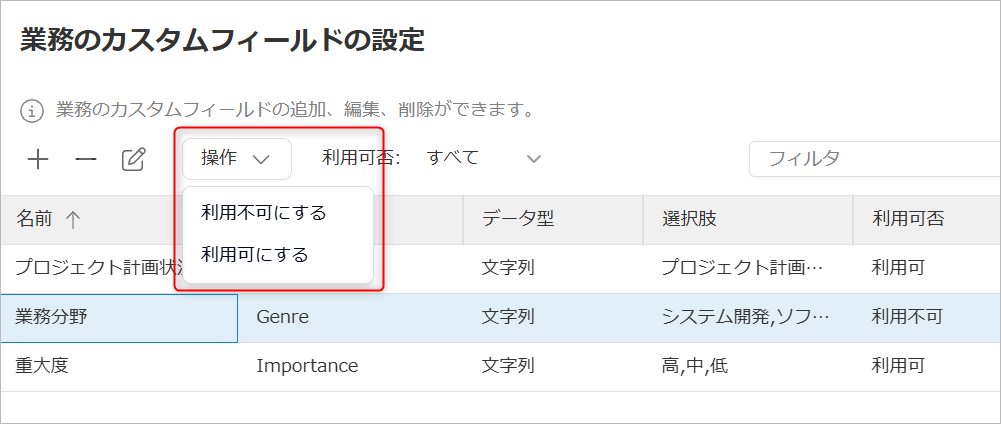
Toggle Availability
- Select the target custom field and select "Actions" → "Disable"/"Enable".
- Custom fields that are disabled will no longer be accessible to users.
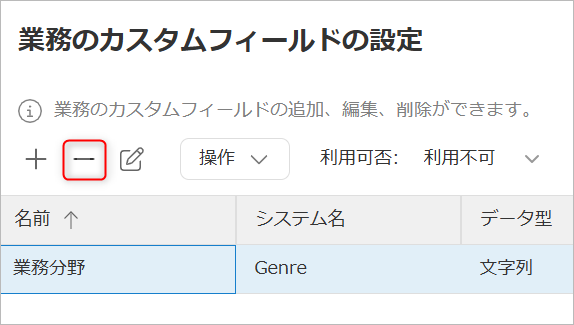
Deleting Custom Fields
Select the target custom field and click "-".